Add Vitals and Actions
From the Timeline, you will have the options to Add Vitals and Add Actions. Any Vitals and Actions you add to your chart will show up on the Timeline. We won't go through every field on this screen, but we will touch on a few to show different field functionality.
Note: Many fields have a Search bar to allow you to search through the pick list values. The list values will begin filtering as soon as you start typing in the Search bar.
Add Vitals
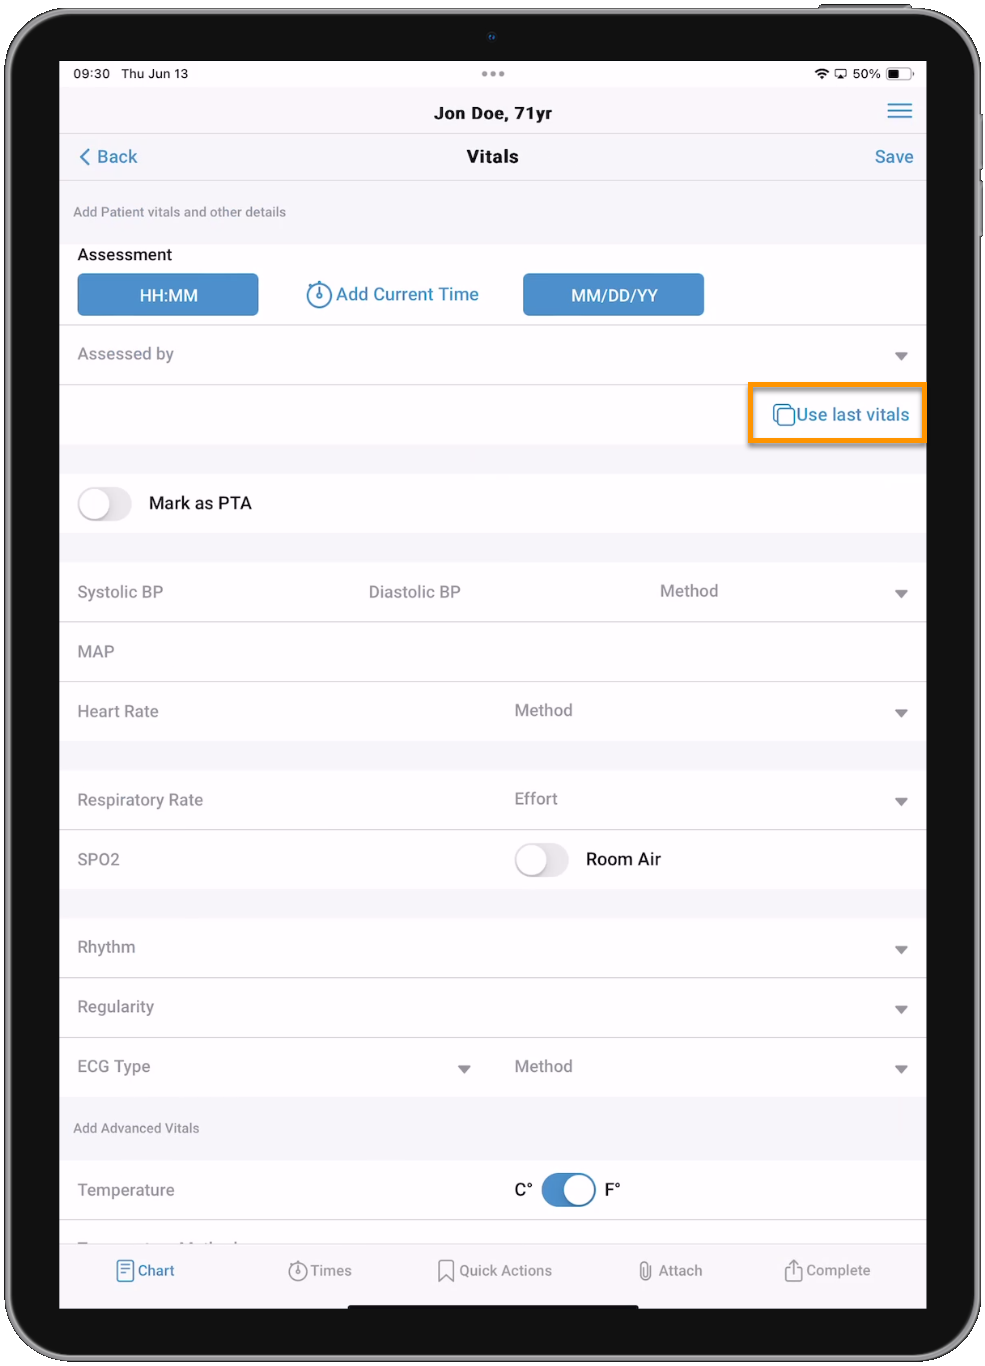
The Add Vitals page will allow you to document vitals-related information such as blood pressure, heart and respiratory rate, ECG, stroke scale, and GCS scores. Once you have filled out all the applicable Vitals fields, tap Save in the upper-right to add the Vital set to your chart. Tap Add Vitals again from the Timeline page to add another set of Vitals. You can add as many sets of Vitals to a chart as you need. If the PCR already has Vitals recorded, you can tap Use last vitals to create a new set of Vitals using all the information from the most recent Vitals added. You can change any of the values prior to saving, or edit the information later from the Timeline.

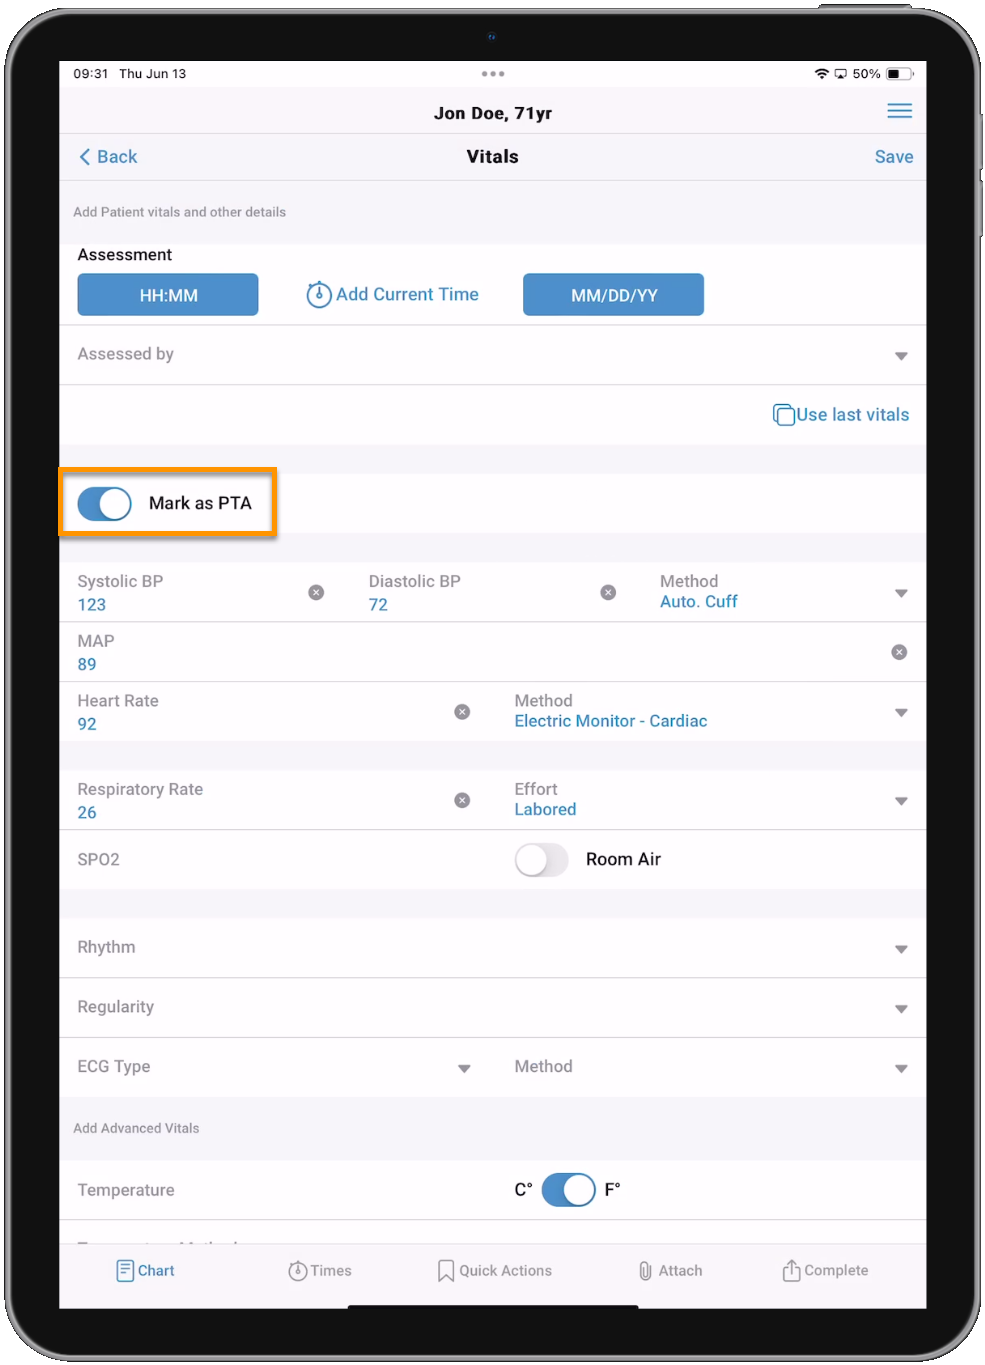
When adding Vitals, you can tap Mark as PTA to mark the Vitals as having been acquired prior to your units arrival. The timestamp of the Vitals record must be before the documented At Patient timestamp, or if At Patient is not documented, the On Scene timestamp. If you try to mark Vitals as PTA but the timestamp occurs after the At Patient (or On Scene) time, you will receive an error that "PTA entries cannot be selected after the At Patient time of the chart". If you mark a Vitals record as PTA but don't enter a timestamp, it will be recorded as "Date & Time Unknown".


Date/time fields
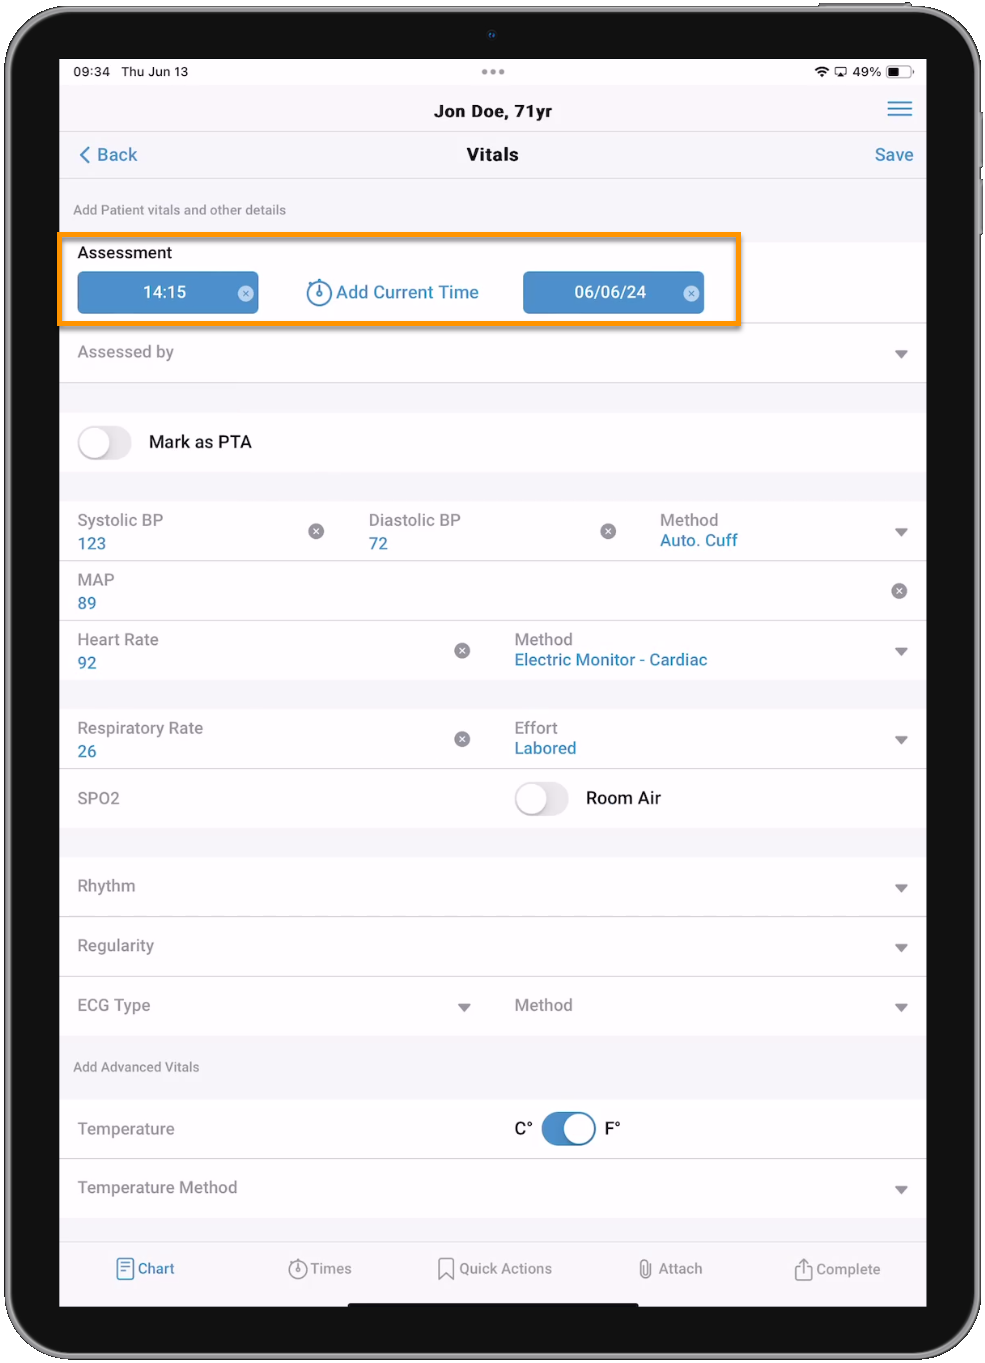
Date/time fields like the Vitals page 'Assessment' can either be filled out manually by tapping into the time and date fields to type in the values, or by tapping the stopwatch icon  to auto-fill the current date and time.
Single-select fields
Single-select fields like the Blood Pressure 'Method' field allow you to choose one value from the list. Tapping Cancel will leave the selection screen and tapping Clear will remove any selected values from the chart.

Numeric fields
Numeric fields like 'Systolic BP' allow you to enter number values.
Note: The number pad will display special characters for fields that allow for decimal values and ratios.

Multi-select fields
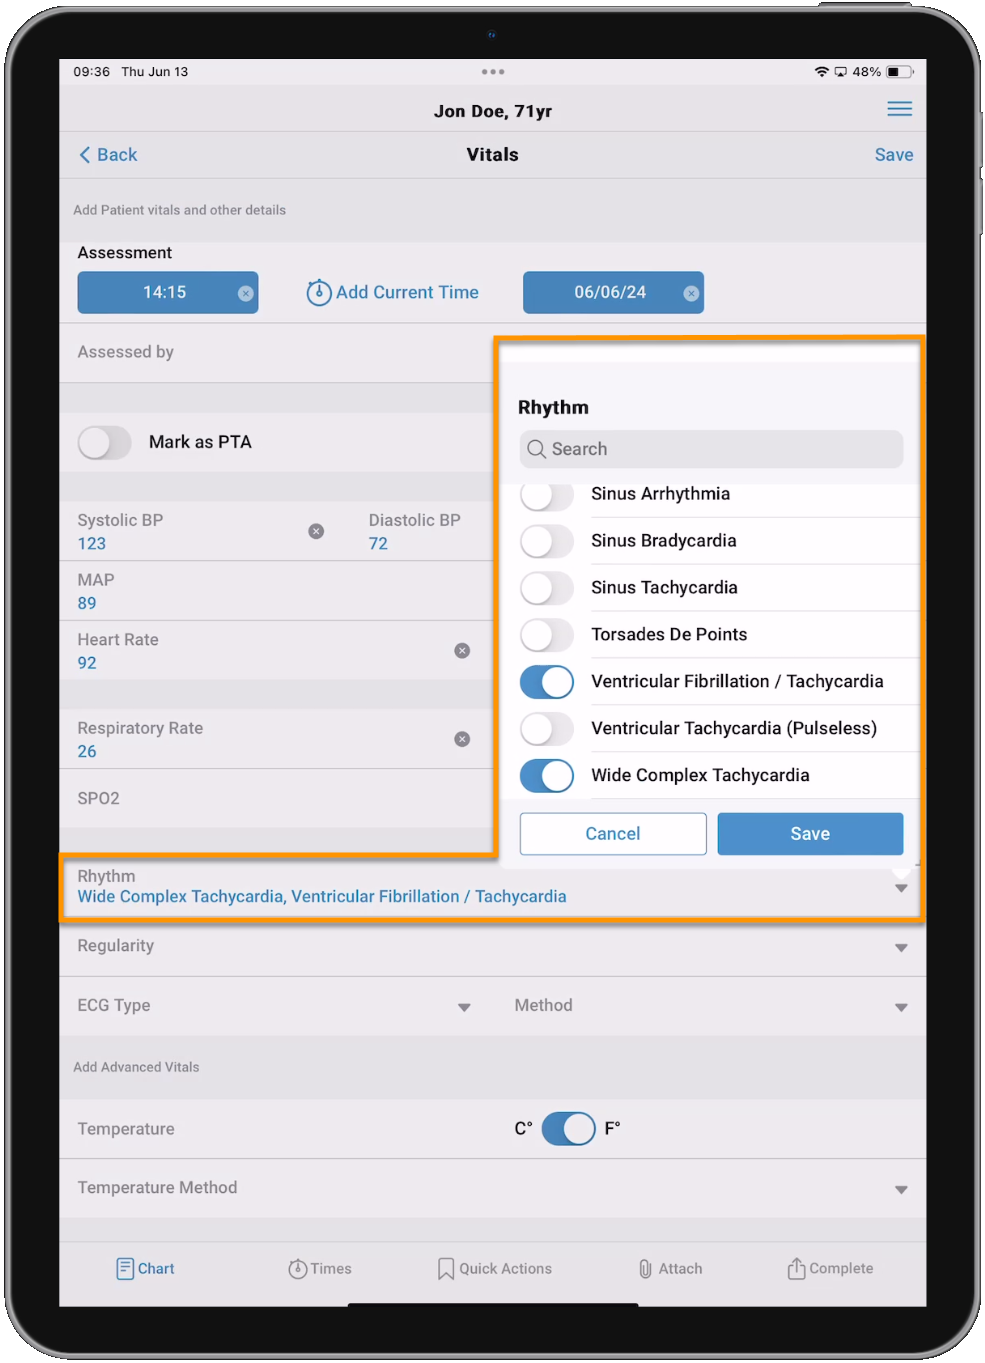
Multi-select fields like 'Rhythm' allow you to choose as many values from the list as you need. Tap each value you want to include to toggle it on and then make sure to tap Save.
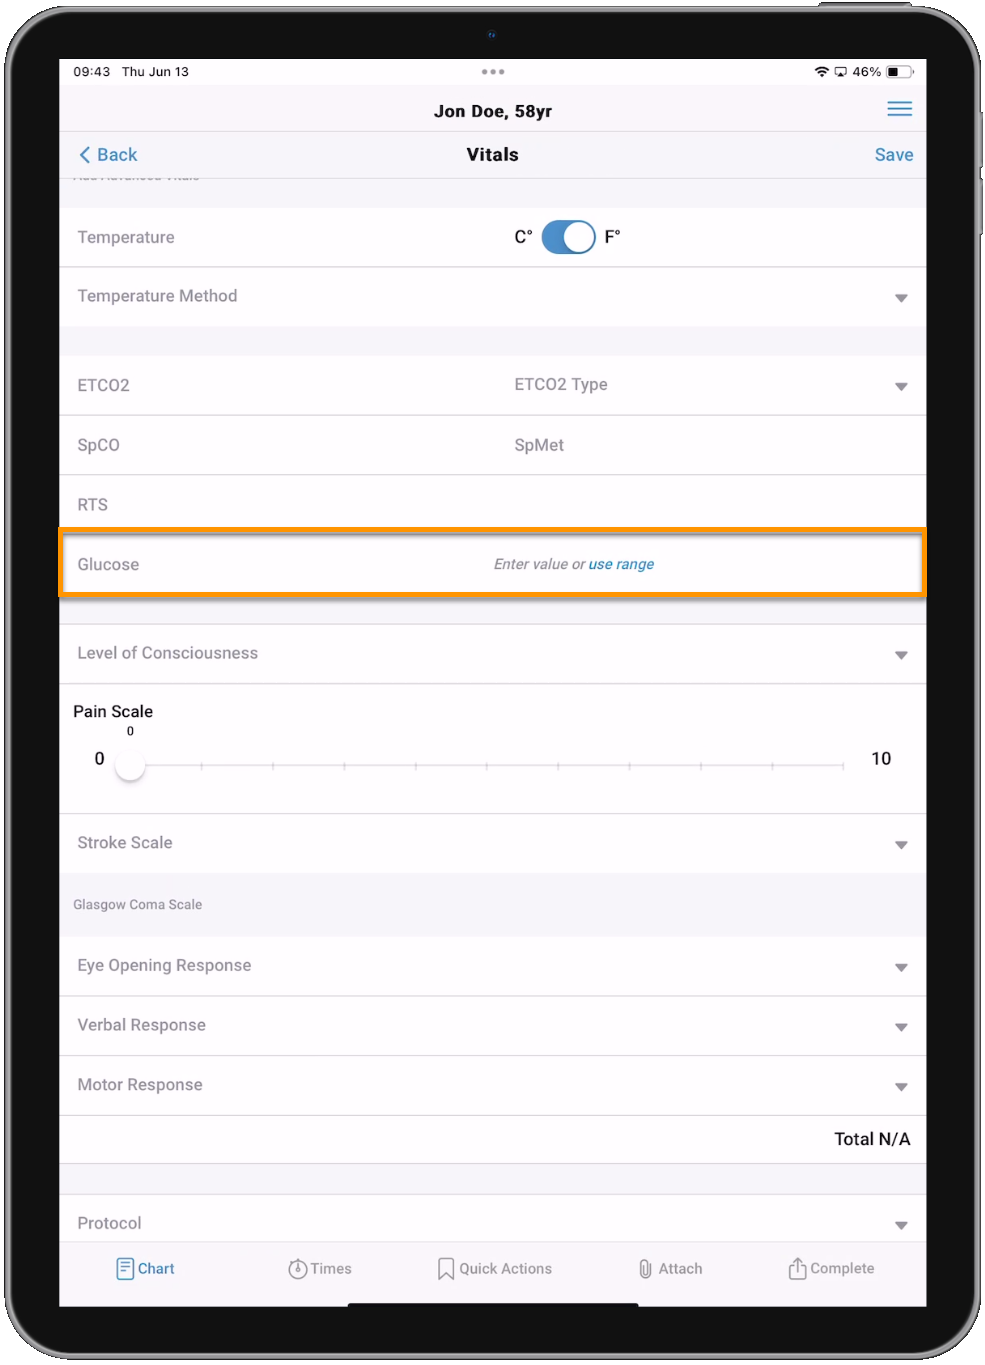
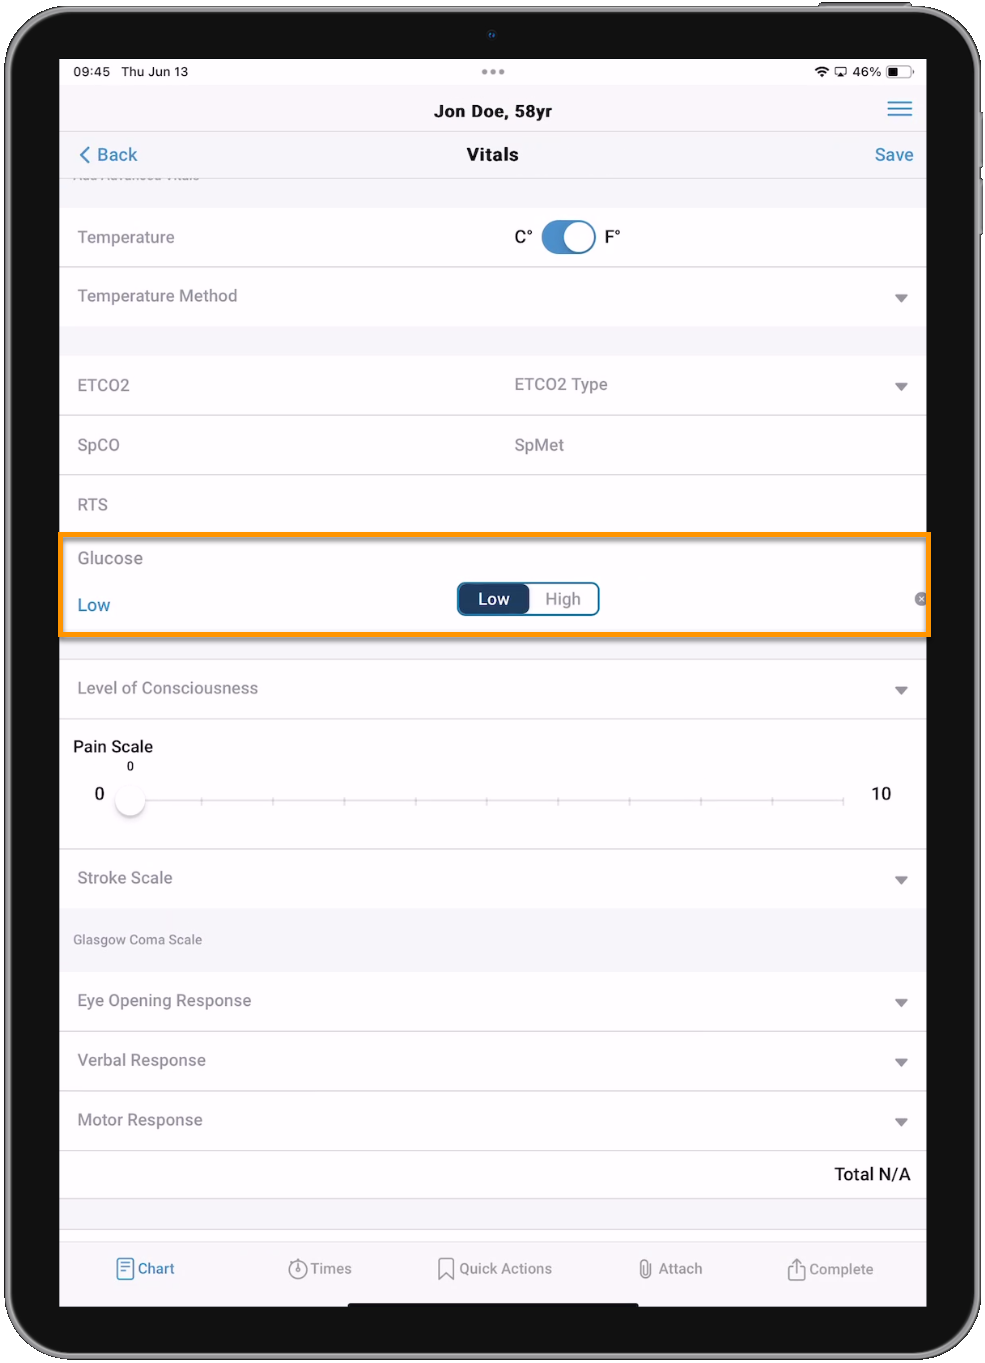
Toggles
Toggles can be switched by tapping them. The Vitals Glucose field has unique functionality because it allows for you to either enter a numeric value, or tap use range to use the toggle to set the value to 'Low' or 'High'. You cannot enter a numeric value and use the toggle for 'Low' or 'High'.
Note: The Vitals Glucose field will only be available if Configuration > Command Fac. > Chart > Page 8 > Non-Lab Glucose is set to 'Yes'.

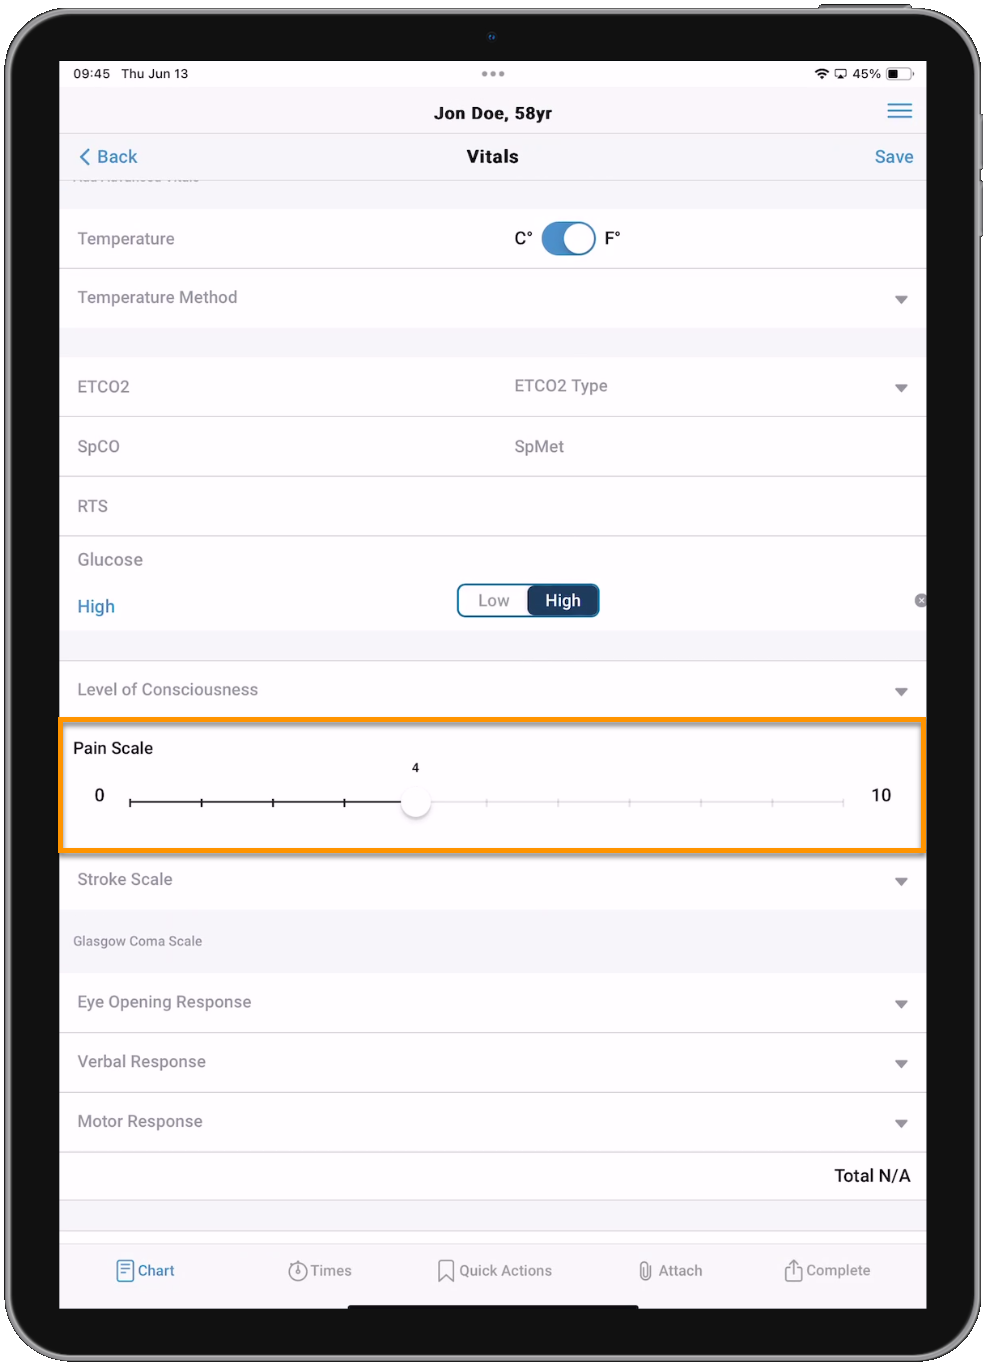
Slider fields
Slider fields like 'Pain Scale' allow you to tap and drag the slider to the value you need. You can also tap the desired value on the scale instead of dragging the slider.
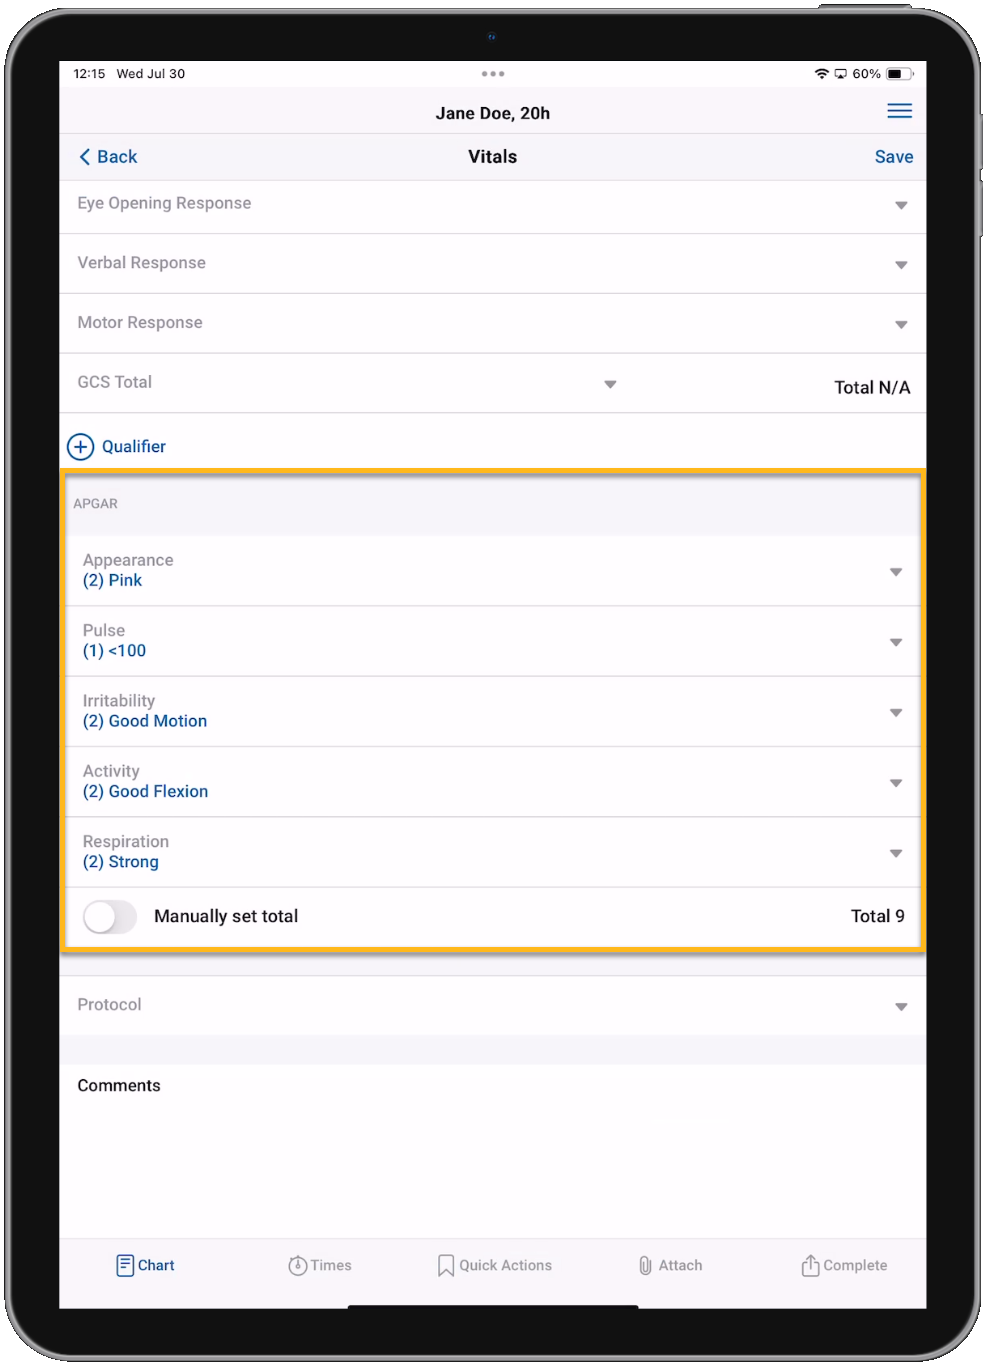
Dynamic fields
Dynamic fields like those in the APGAR section will only appear when specific criteria are met. The APGAR fields will appear when the patient age is set to one day or less.
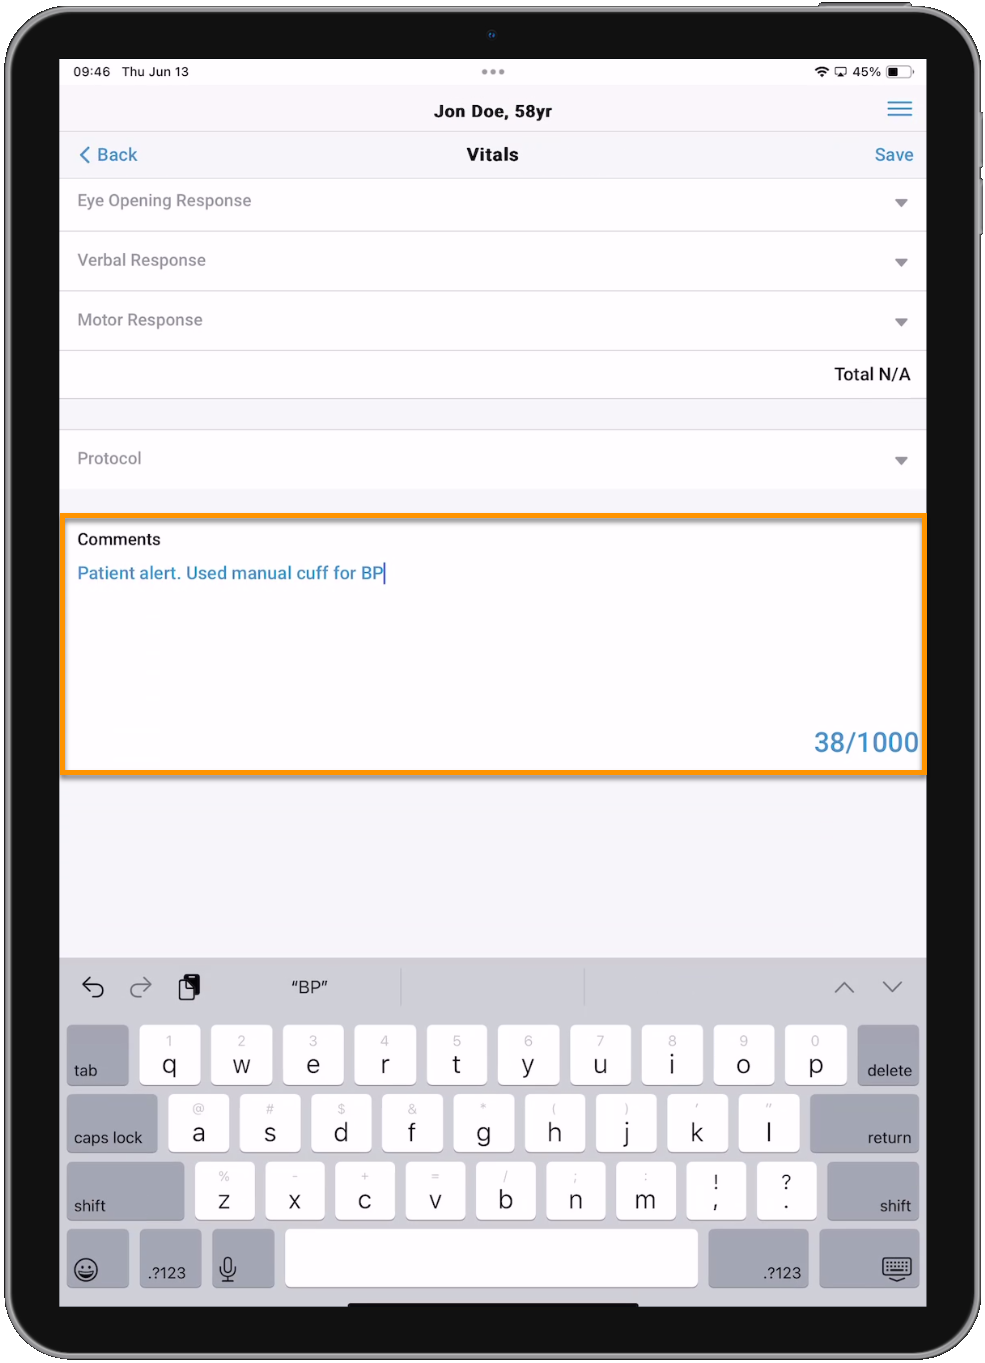
Free-text fields
Free-text fields like 'Comments' allow you type in values.
Note: If your device has a microphone and dictation is enabled in the device settings, you can use voice-to-text for free-text fields. Voice-to-text capabilities are enabled solely by the native tools on the user's device and are not part of the ZOLL emsCharts NOW functionality provided by ZOLL.
Add Actions
Add Actions is one of two ways within ZOLL emsCharts NOW that you can add "Actions", also known as Procedures. The other way to add Actions is via the Quick Actions button in the Ribbon Menu.
Tapping Add Actions will present you with all the same Actions or Procedures you see when charting in ZOLL emsCharts Web, including medications administered during the trip. Once you select an Action, you can fill out all the applicable fields and tap Save in the upper-right to add the Action to the chart. You can add as many Actions to a chart as you need.
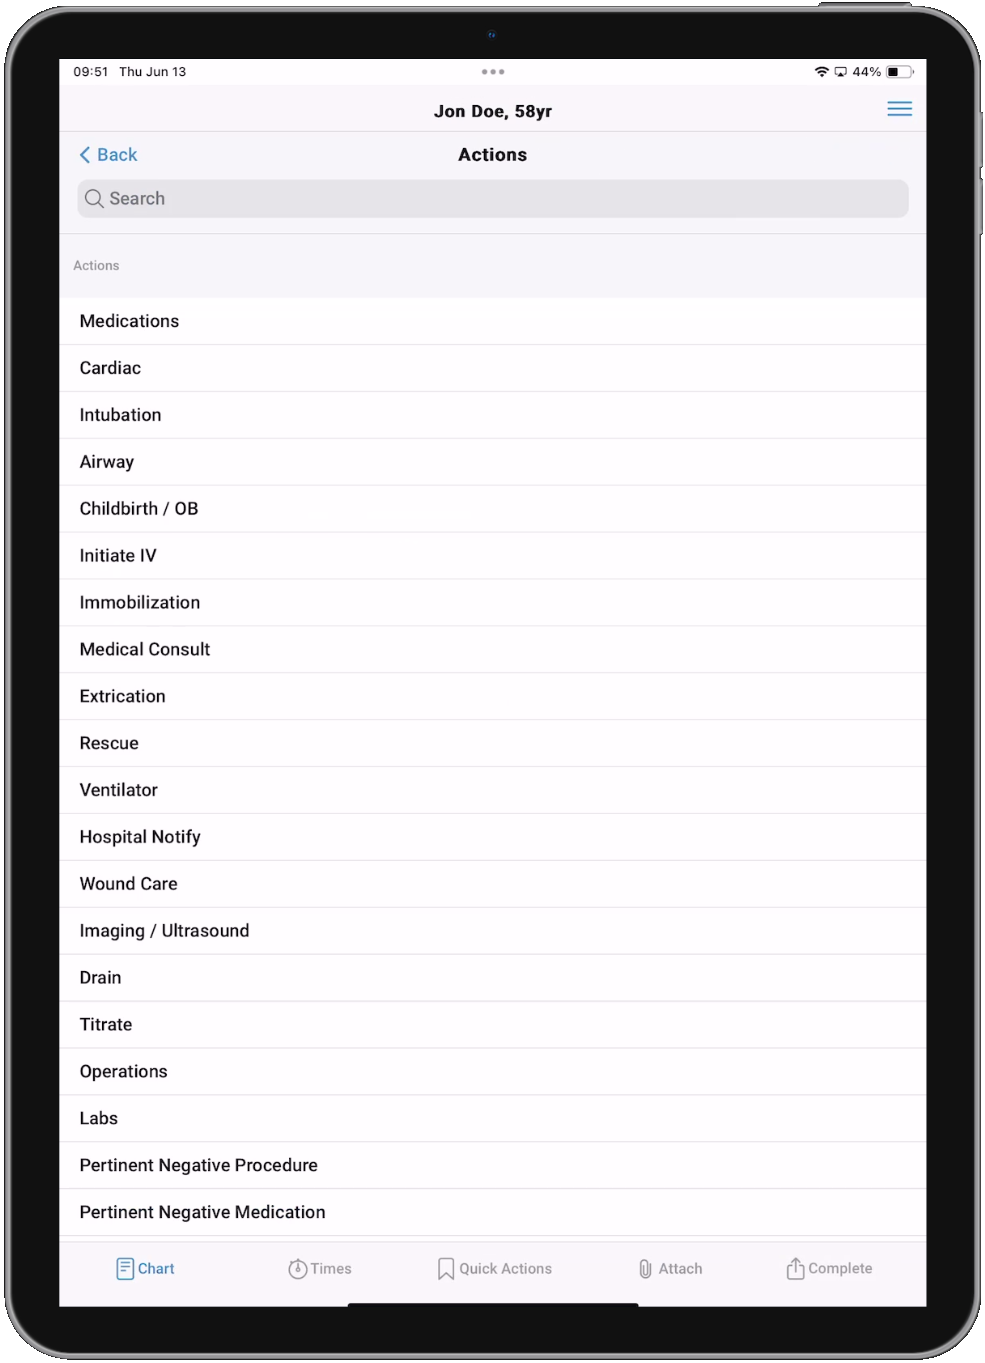
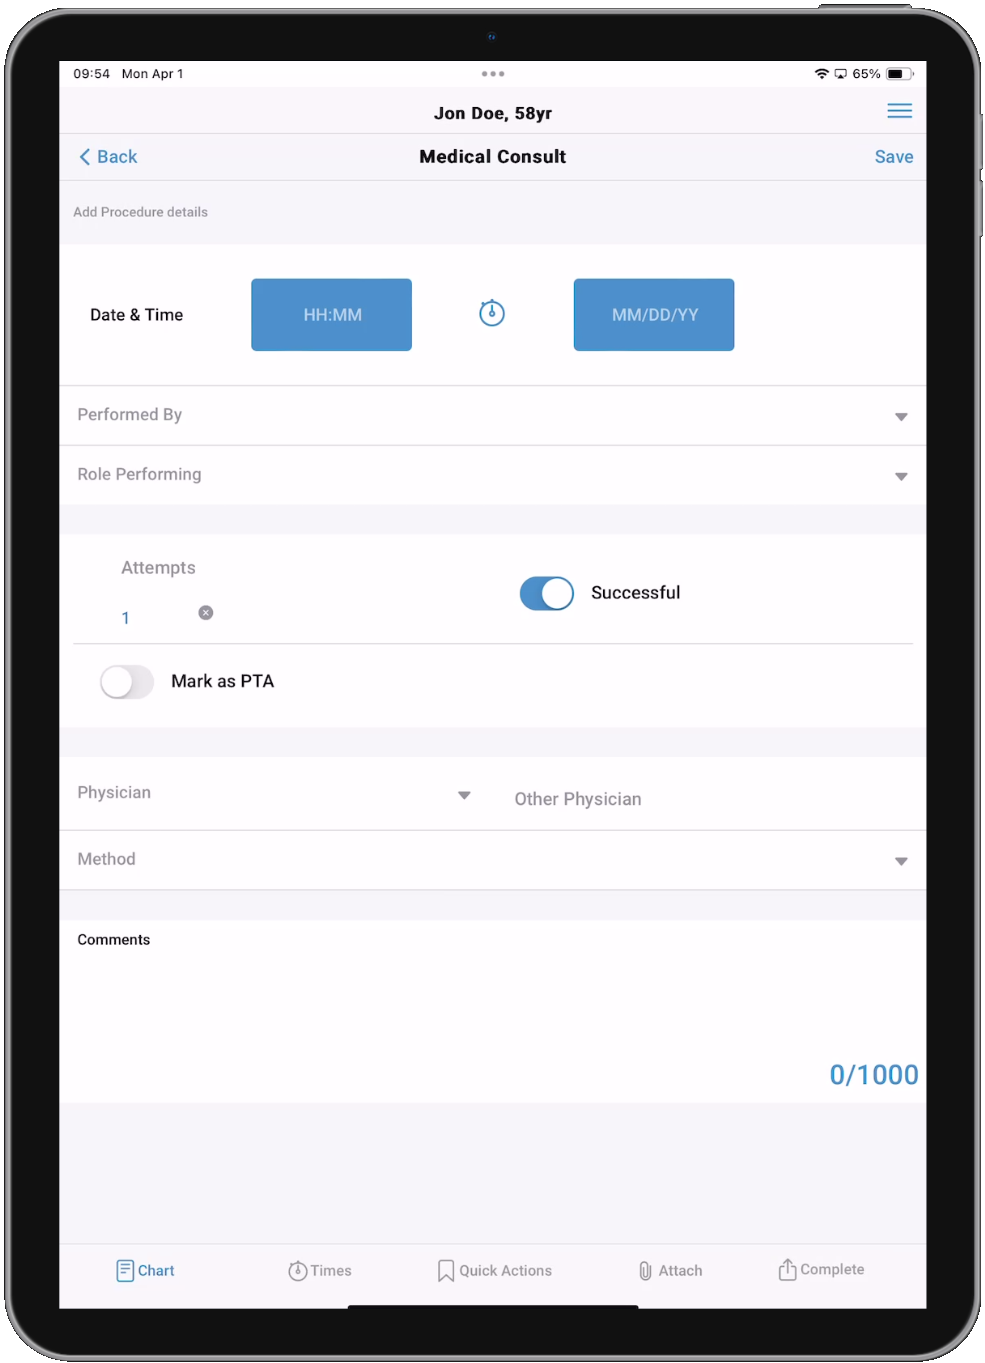
After selecting an Action, you will be presented with the data collection fields applicable to that Action. In this example we are viewing the Medical Consult Action.
Note: If your Command Facility has configured Procedure Defaults, the default values will be populated in the Actions when they are added to your PCR.
Configuration: Command Facility > Code Tables >
-
Procedure Defaults - Adolescent (12-18)
-
Procedure Defaults - Adult (18+)
-
Procedure Defaults - Child (2-12)
-
Procedure Defaults - Infant (<2)
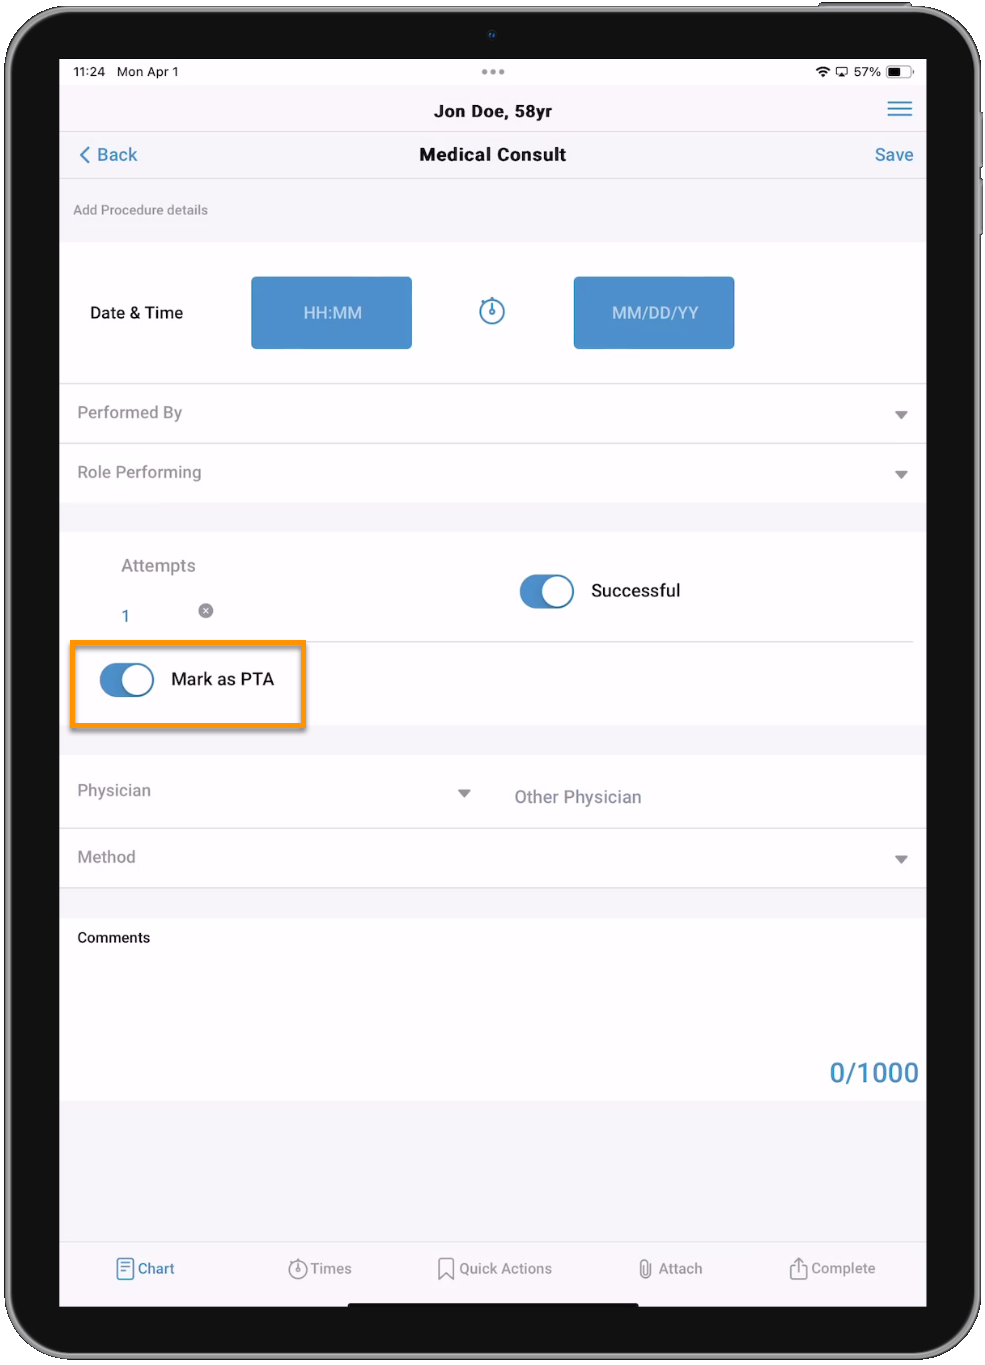
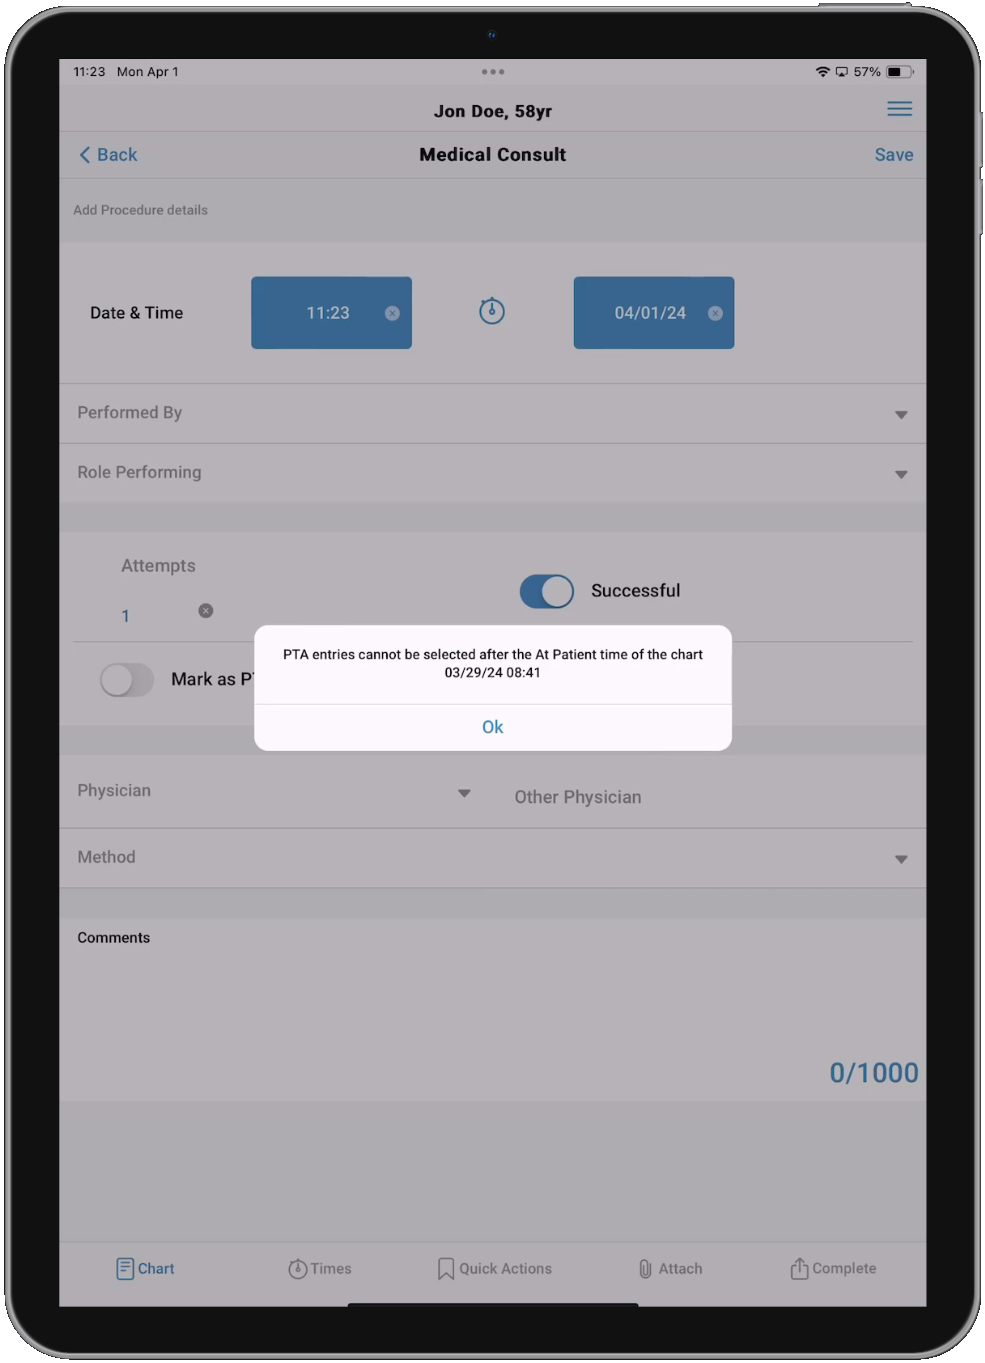
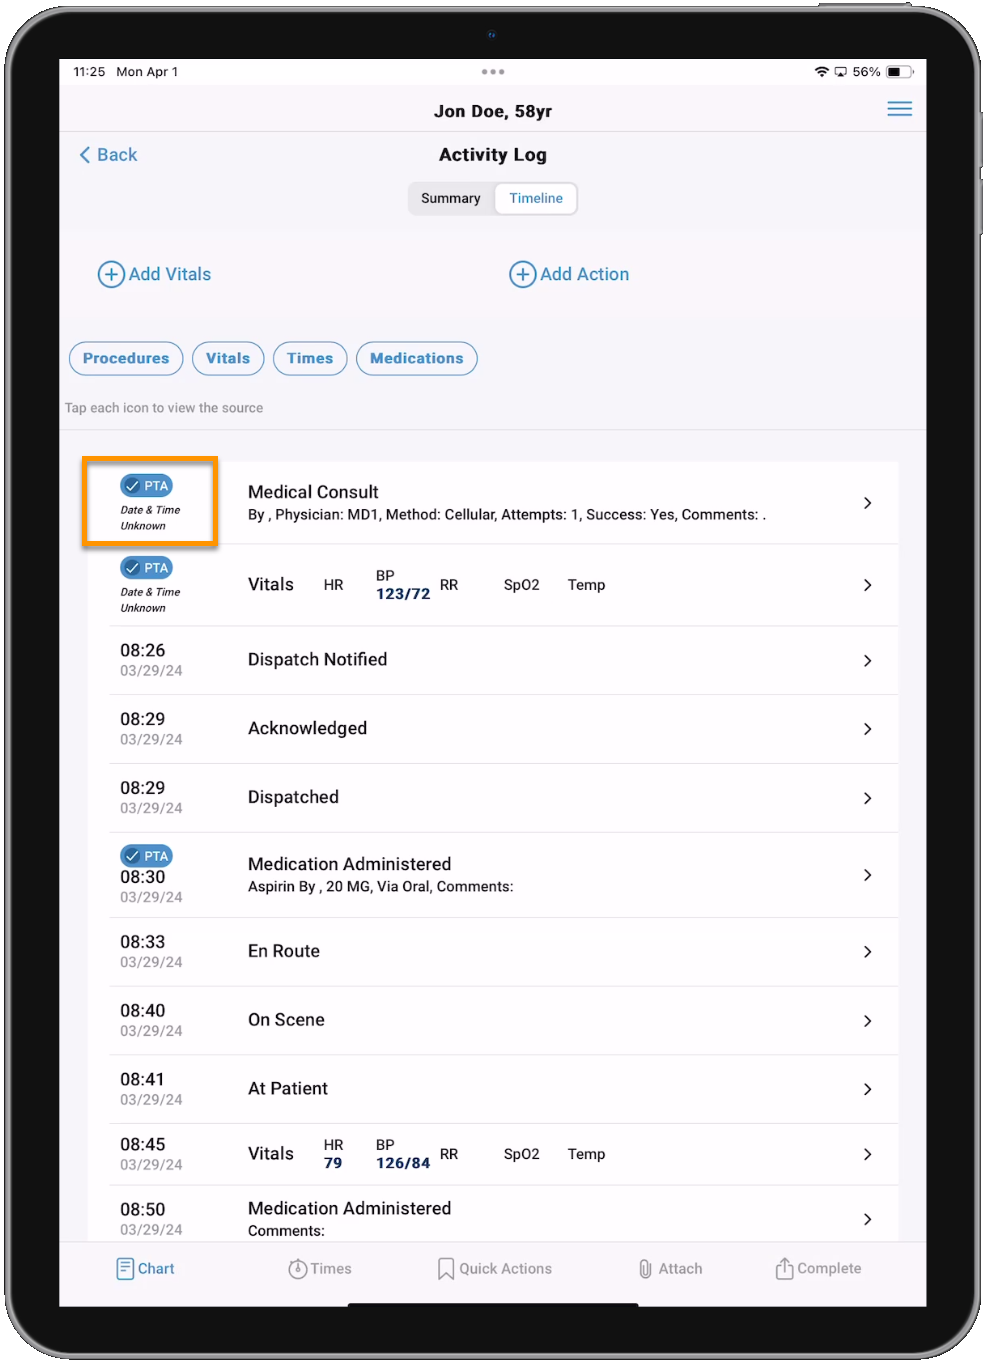
When adding Actions, you can tap Mark as PTA to mark the Action as having been acquired prior to your units arrival. The timestamp of the Action record must be before the documented At Patient timestamp, or if At Patient is not documented, the On Scene timestamp. If you try to mark Actions as PTA but the timestamp occurs after the At Patient (or On Scene) time, you will receive an error that "PTA entries cannot be selected after the At Patient time of the chart". If you mark an Action as PTA but don't enter a timestamp, it will be recorded as "Date & Time Unknown".
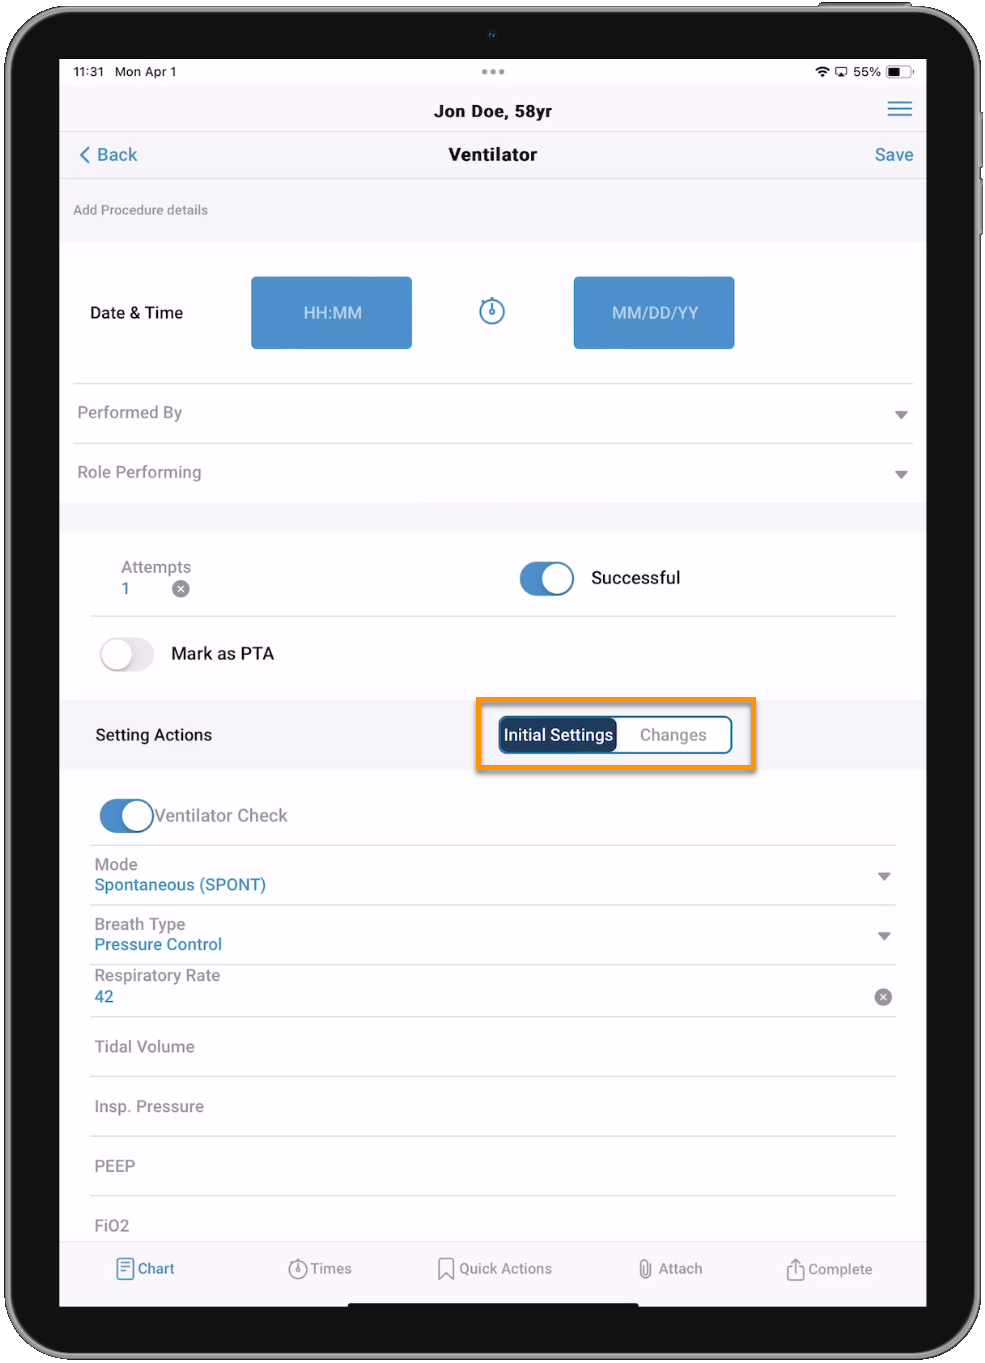
Ventilator Action
The Ventilator Action has unique functionality that makes it easy to track changes between multiple Ventilator Actions. The first time you add a Ventilator Action to a PCR, it will be marked as 'Initial Settings' by default. You can record all your values and save the Action. If you add another Ventilator Action to the PCR with a timestamp after the first, you can tap Changes to see all the values recorded for the previous Ventilator Action. You can then tap Copy Previous to import all the recorded values from the previous Ventilator Action into the new Action, and manually update any values that changed, prior to saving.
Note: If you continue adding Ventilator Actions, the 'Changes' button will always display the values recorded in the most recently timestamped Ventilator Action on the chart.

Go back to the Timeline to learn about the Summary view, or go back to the Patient Care Report landing page.